Rock painting is one of those rare creative activities that costs almost nothing, requires no formal training, and delivers a deeply satisfying result every single time. Whether you are a complete beginner picking up a paintbrush for the first time, a parent looking for a meaningful craft activity to do with your kids, or an experienced artist searching for a new canvas, painted rocks offer something genuinely special.
In this comprehensive guide, we cover everything from the essential supplies you need to get started to detailed rock-painting ideas organised by theme, skill level, and occasion. We also explore the growing community culture around painted rocks, including the popular practice of hiding decorated stones for strangers to discover. By the end, you will have all the inspiration and practical knowledge to turn a humble pebble into a miniature work of art.
50+ Rock Painting Ideas Organised by Theme
Animal and Wildlife Rock Painting Ideas

Ladybug Rocks

Ladybug rocks are one of the most iconic painted rock designs in the entire hobby, and for very good reason. The shape of an oval stone maps perfectly onto a ladybug’s body. Paint the top half red and the bottom half black, add a dividing line down the centre, dot black spots across the red section, and draw two small antennae with a fine liner brush or paint pen. This is the ideal first project for a complete beginner or a young child, and the results always look charming regardless of skill level.
Owl Rocks

Round stones are a natural fit for owl designs. The circular shape of the rock suggests the owl’s face immediately. Before picking up your brush, browsing owl coloring pages can help you study feather patterns, eye placement, and species markings, a useful reference whether you’re painting on paper or stone. Paint the base in brown, cream, or grey, then add two large circular eyes in white or yellow with black pupils, a small triangular beak, and delicate feather texture across the body using short curved strokes with a fine brush. Owls work beautifully as a series, painted in different colour combinations to represent different species.
Hedgehog Rocks
An oval or egg-shaped stone is all you need to create an adorable hedgehog. Paint the lower front portion in a warm cream or pale pink for the face and belly, then cover the upper and back portions in dark brown. Use a fine brush to add dozens of short, spiky strokes in a slightly lighter brown across the back section to suggest quills. Finish with two small black eyes, a tiny pink nose, and a gentle smile.
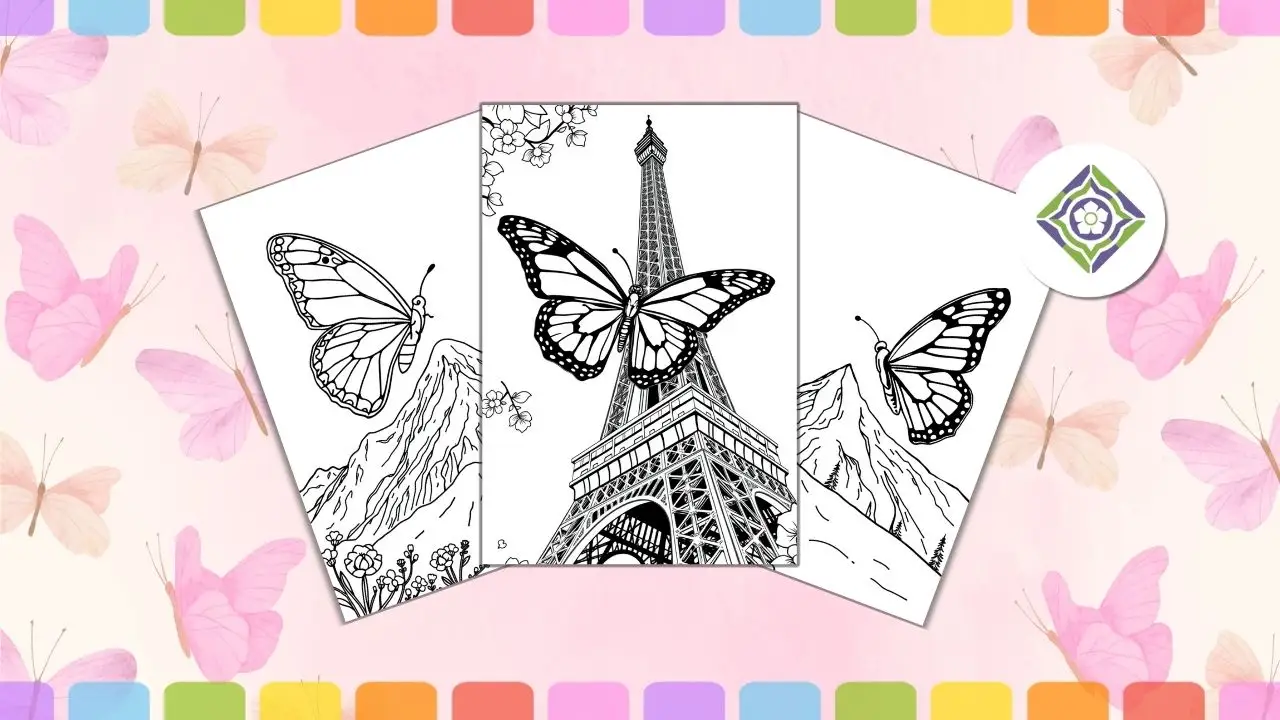
Butterfly Rocks

Flat, wide stones work particularly well for butterfly designs. For pattern inspiration, butterfly coloring pages are an excellent reference, they clearly map out wing symmetry, vein structure, and the placement of eyelet markings before you commit to stone. Paint the stone white or a pale pastel as a base, then divide the surface into four wing sections. Fill each wing with bold colours, intricate vein patterns, and decorative spots or eyelet markings. Butterflies allow enormous creative freedom in terms of colour and pattern, making them just as rewarding for experienced painters as they are for beginners working with simple shapes.
Bumblebee Rocks
Bumblebee rocks are a perennial favourite for garden decoration and children’s projects alike. On an oval stone, paint alternating yellow and black horizontal stripes across the body. Add two small white or translucent wing shapes on either side, a simple face with black dot eyes, and thin antennae lines at the top. These look wonderful nestled among flower pots or herb gardens.
Fox Rocks
A fox is one of the most satisfying animal rocks to paint because the natural pointed shape of certain stones maps onto the fox’s triangular snout almost perfectly. Paint the main body in burnt orange or rust, leaving a white chest and muzzle area. Add black paws, ear tips, and a white-tipped bushy tail. A fox rock painted with care and a little detail in the fur texture makes a beautiful gift or shelf decoration.
Dinosaur Rocks
Dinosaur rocks are enormously popular with young children and offer a fun way to explore bold colour choices. Simple T-Rex, Stegosaurus, and Brachiosaurus outlines painted in bright greens, purples, or blues are immediately recognisable and deeply satisfying to make. Add small spikes or scales using a dotting tool or the tip of a brush for extra detail. A set of different dinosaur rocks painted together makes a wonderful children’s gift.
Cat and Dog Portrait Rocks
For a more personal and meaningful painted rock project, pet portrait rocks are hard to beat. Using a reference photograph of a beloved cat or dog, paint a simplified likeness onto a smooth stone, focusing on the most distinctive features: the shape of the ears, the colour of the coat, any notable markings, and the eyes. These make deeply personal gifts for pet owners and are a rewarding challenge for anyone looking to push their rock painting skills further.
Mandala Rock Painting Ideas

Classic Dot Mandala

The classic dot mandala is the entry point for almost every rock painter who ventures into this style. Start by placing a single dot in the exact centre of the stone using a dotting tool or the blunt end of a pencil. Build outward from this point in concentric rings, alternating the size and colour of dots at each ring. The key is consistency in spacing and size within each ring. Even a simple three or four-ring dot mandala looks striking when the colours are chosen thoughtfully.
Floral Mandala
A floral mandala builds on the dot mandala foundation by incorporating petal shapes between the rings of dots. After placing your central dot and first ring, add small teardrop or oval shapes radiating outward like petals. Continue alternating rings of dots and petal clusters as you move toward the edges of the stone. Floral mandalas work beautifully in pink, coral, and gold combinations, or in cool blues and purples for a more serene aesthetic.
Geometric Mandala
For painters who prefer structure and precision, geometric mandalas replace the soft curves of floral designs with clean triangles, diamonds, and sharp lines. Use a fine liner brush or Posca pen to create the geometric framework, then fill sections with contrasting colours. Geometric mandalas have a bold, graphic quality that looks striking against a black or deep navy base coat.
Galaxy Mandala

A galaxy mandala combines the meditative precision of dot art with the drama of a deep space colour palette. Start with a black or very dark navy base coat. Build your mandala using dots in deep purple, midnight blue, and dark teal, then add progressively brighter highlights as you work toward the outer rings. Finish with metallic gold or silver dots at the outermost points for a starfield effect. The contrast between the dark background and the metallic highlights is what gives these rocks their distinctive, luminous quality.
Seasonal Mandala
Seasonal mandalas are an excellent way to build a year-round collection of painted rocks. Adapt the same mandala structure to a new colour palette for each season. Warm oranges, deep reds, and golden yellows work beautifully for autumn. Soft mint greens, pale yellows, and blush pinks feel fresh and appropriate for spring. Icy blues, silver, and crisp white create a winter mandala that pairs well with seasonal decor.
Nature and Botanical Rock Painting Ideas

Succulent Rocks

Succulent rocks are one of the most popular botanical designs in the painted rock community, and they work particularly well when displayed among real plants. Paint a white or pale green base coat, then build up the succulent rosette pattern working from the outer leaves inward. Each layer of leaves should be slightly smaller and a slightly different shade of green, grey-green, or dusty rose. The overlapping leaf shapes create a realistic three-dimensional illusion that makes these rocks look genuinely plant-like from a short distance.
Sunflower Rocks
Sunflowers translate beautifully to smooth stone surfaces and are one of the most cheerful rock painting designs you can make. Paint a rich golden yellow base coat for the petals, then add a large dark brown or black circular centre. Use a fine brush to add texture to the seed head with small curved lines or dots, and paint individual petals with subtle light and shadow to give them dimension. Sunflower rocks make wonderful summer gifts and look beautiful when arranged in a terracotta pot or along a garden border.
Watercolour Flower Rocks
For a softer, more impressionistic result, try diluting your acrylic paints with water to create a translucent watercolour effect on your stone surface. Apply overlapping washes of colour in petal shapes, allowing them to blend softly at the edges. The stone surface absorbs the paint differently to paper, creating subtle texture and variation that adds to the organic quality of the design. These work particularly well in pink, peach, lavender, and white combinations.
Leaf and Fern Rocks
Leaf rocks are among the most elegant and restrained botanical designs, and they work exceptionally well as garden plant markers. Paint a base coat in a muted sage green or olive, then use a fine liner brush to add detailed leaf vein patterns in a darker green or brown. A single beautifully rendered leaf on a smooth stone has a quiet, sophisticated quality. Fern fronds, with their repeating leaflet structure, add a slightly more complex variation on the same theme.
Mushroom and Toadstool Rocks
Toadstool rocks have a whimsical, fairy tale quality that makes them particularly popular for garden displays. Paint the cap in a bold red with small white circular spots, and the stem in cream or pale beige. Small stones are ideal for this design, as a collection of different-sized toadstool rocks arranged together in a garden bed creates a charming fairy garden effect. Variations in cap colour, from traditional red to purple, orange, or even galaxy-toned caps, allow for a great deal of creative variety within this single design concept.
Tree of Life Rocks

The tree of life is one of the most meaningful and meditative rock painting projects you can undertake. On a circular or oval stone, paint a stylised tree trunk rising from spreading roots at the base, with branches extending outward to fill the upper portion of the stone. The branches and roots should mirror each other in shape and complexity, creating a balanced, symmetrical composition. Add small leaves or blossoms in a colour that complements the trunk, and consider a warm sunset gradient or deep celestial blue as the background.
Inspirational Quote and Word Rock Painting Ideas

Single-Word Impact Rocks

Single-word rocks are among the most powerful and widely shared painted rock designs. A single bold word painted on a smooth stone with a beautiful background carries enormous emotional weight precisely because of its simplicity. Words like Hope, Brave, Love, Believe, Shine, or Enough work particularly well. Paint a decorative background first, whether that is a simple colour gradient, a floral pattern, or a mandala border, then add the word in clean lettering using a paint pen or fine liner brush over the top.
Motivational Phrase Rocks
Short motivational phrases are the heart of the Kindness Rocks Project movement and among the most meaningful painted rocks to both make and receive. Phrases like You’ve got this, Be kind, Keep going, or Every day is a gift have a genuine impact when encountered unexpectedly on a park bench or windowsill. Use a paint pen in a colour that contrasts clearly with your background, plan your letter spacing before committing to paint, and keep the phrase short enough to read at a glance.
Affirmation Rocks
Affirmation rocks are a more personal variation on the quote rock concept, designed primarily for the painter themselves rather than for hiding or gifting. Paint a small collection of stones each carrying a different positive self-affirmation, such as I am enough, I am capable, or Progress not perfection. Keep these on a desk, bedside table, or bathroom shelf as a daily mindfulness practice. The act of painting them is itself a meditative exercise in self-reflection.
Gratitude Rocks
A gratitude rock collection is a meaningful ongoing project. Paint a series of stones, each carrying a word or short phrase representing something you are grateful for, such as family, health, creativity, or mornings. Kept together in a bowl, these make a beautiful and deeply personal decorative object that also serves as a daily reminder of the things that matter most. This is a particularly powerful project to make with children as part of a family mindfulness practice.
Seasonal and Holiday Rock Painting Ideas

Christmas Rocks

Christmas is one of the most popular occasions for painted rock projects. Decorated Christmas trees painted on smooth oval stones in deep green with small coloured dot baubles and a gold star are a classic starting point. Snowmen painted on pale or white-based stones with carrot noses, button eyes, and striped scarves are equally beloved. Santa face rocks, reindeer, holly wreaths, and gift-wrapped parcel designs all work beautifully, and adding metallic gold or silver paint to any Christmas rock design instantly elevates the festive quality.
Halloween Rocks

Halloween rock painting offers some of the most fun and expressive design opportunities of the year. Jack-o-lantern rocks painted on orange stones with carved face expressions in black are a natural starting point. Black cat rocks, ghost rocks on white-painted stones with simple expression faces, witch hat designs, and black and white spiderweb patterns on dark base coats all create a striking seasonal collection. A set of Halloween rocks arranged along a windowsill or doorstep makes an effective and unusual seasonal decoration.
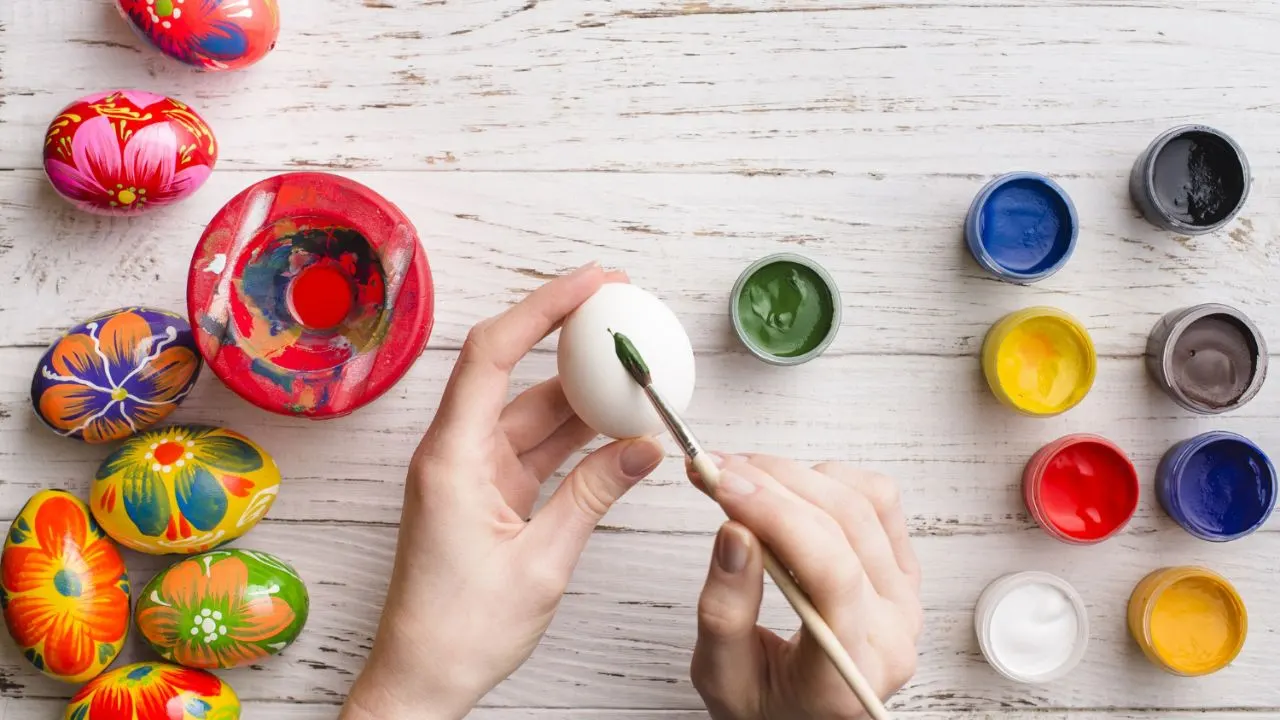
Easter Rocks
Easter egg rocks are among the most joyful and colourful seasonal painted rock projects. Paint each stone to represent a decorated Easter egg using geometric patterns, zigzag lines, dots, or floral motifs in pastel shades of yellow, pink, mint, and lavender. Small chick face rocks painted in yellow with orange beak details and spring flower designs are equally popular. A basket of Easter egg rocks makes a charming and lasting alternative to disposable seasonal decorations.
Valentine’s Day Rocks
Valentine’s Day rocks in red, pink, and gold make beautiful handmade gifts that carry far more personal meaning than anything shop-bought. Heart designs are the obvious starting point, from simple solid red hearts to detailed layered hearts with decorative patterns inside. Rose rocks painted in deep red with green leaf detail, and small painted rocks carrying personal love messages in elegant paint pen lettering, are both wonderful options for a heartfelt and lasting gift.
Abstract and Artistic Rock Painting Ideas

Galaxy and Space Rocks

Galaxy rocks are among the most visually dramatic painted rock designs and are more achievable than they look. Begin with a very dark base coat in black or deep navy. While the base is still slightly tacky, stipple on areas of deep purple, midnight blue, and dark teal using a dry brush or sponge to create the soft, nebula-like colour variation of a deep space scene. Once dry, add tiny white dots for stars using a dotting tool or the fine point of a brush. Finish with a few larger, brighter highlights and optionally some metallic silver or gold accents. The result is genuinely striking.
Tie-Dye and Fluid Art Rocks
Fluid art rock painting is one of the most process-focused and unpredictable techniques in the hobby, which is a large part of its appeal. Thin your acrylic paints with water or a dedicated pouring medium to a liquid consistency, then drop multiple colours onto the surface of the rock and allow them to flow and blend organically. Tilt the rock to encourage the paint to move, or drag through it with a toothpick to create swirling patterns. Every result is unique and impossible to replicate exactly, giving each rock an authentically one-of-a-kind quality.
Marbling Effect Rocks
Marbling creates an elegant, sophisticated surface effect that makes painted rocks look almost like genuine precious stone. Apply a light base coat, then while still wet, drop thin lines of a contrasting colour across the surface. Drag a toothpick, skewer, or fine brush through the wet paint in long, sweeping diagonal strokes to create the characteristic veined pattern of marble. White with grey and gold veining creates a classic Carrara marble effect. Black with gold creates a dramatic and luxurious alternative.
Rainbow Stripe Rocks
Rainbow stripe rocks are bold, simple, and enormously satisfying to make. Using masking tape to create clean divisions between each colour band, paint parallel stripes across the face of the stone in the seven colours of the rainbow. Remove the tape while the paint is still slightly wet for the cleanest edges. Rainbow rocks work equally well as a toddler’s first structured rock painting project and as a striking minimalist decorative piece for an adult’s shelf or desk.
Functional and Decorative Rock Painting Ideas

Garden Plant Marker Rocks
Flat, palm-sized stones painted with the name of a herb, vegetable, or flower make beautiful and practical garden markers. Use a paint pen in a clear, legible font for the plant name, and add a small illustrative detail alongside the text, such as a tiny illustration of the plant itself. Seal well with an outdoor-rated varnish to ensure the markers survive watering and weather. A full set of matching herb garden marker rocks makes a wonderful handmade gift for any gardening enthusiast.
Paperweight Rocks
A large, flat, beautifully painted stone makes an elegant and deeply personal desk paperweight. This is an excellent project for anyone who wants to give a meaningful handmade gift to a colleague, teacher, or friend. Choose a design that reflects the recipient’s personality or interests, seal the finished rock thoroughly, and optionally add a small felt pad to the underside to prevent scratching on polished desk surfaces.
Memory and Keepsake Rocks
A painted memory rock is one of the most meaningful projects in this entire guide. Paint a significant date, a name, a symbol, or a short phrase onto a smooth stone to commemorate a wedding, birth, graduation, or the memory of a person or pet. These rocks become genuine keepsakes, weighty and permanent in a way that a card or printed photograph simply cannot replicate. A smooth, flat stone painted with care and sealed well will last indefinitely.
Essential Rock Painting Supplies: What You Need to Get Started

1. Choosing the Right Rocks
The foundation of any good painted rock is the stone itself. The best rocks for painting are smooth and flat with minimal texture, as these hold paint evenly and make detail work much easier. River rocks and pebbles worn smooth by water are ideal for beginners. Look for rocks with at least one flat face, and aim for a medium size roughly equivalent to your palm: large enough to paint detail but manageable for a first project.
You can collect suitable stones from rivers, beaches, or woodland paths. If natural foraging is not an option, garden centres, home improvement stores, and online craft suppliers sell smooth decorative pebbles in a range of sizes. Always give collected rocks a thorough wash and allow them to dry completely before painting.
2. Paints: Acrylic is King
Acrylic paint is the universal choice for rock painting. It adheres well to stone surfaces, dries quickly, is water-based for easy clean-up, and is available in an enormous range of colours. You do not need an expensive professional-grade set as basic craft acrylics work perfectly well for most projects. For outdoor rocks, use an outdoor-formulated acrylic or seal your finished design with a weatherproof varnish. Metallic acrylics are excellent for mandala accents and galaxy designs. Neon and fluorescent acrylics are great for bold designs aimed at children.
3. Paint Pens and Posca Markers
Paint pens, particularly Posca pens, are a game-changer for rock painting. They allow precise line work, fine detail, lettering, and outlining without the need for a steady-handed brush technique. Many experienced rock painters use acrylic paint for the base coat and background, then switch to paint pens for detail work and typography. Posca markers are available in a wide range of tip sizes from ultra-fine 0.7mm through to broad chisel tips.
4. Brushes and Dotting Tools
A flat wide brush covers base coats and backgrounds. A medium round brush handles general painting and curved shapes. A fine liner brush manages detail work, outlines, and intricate patterns. A fan brush creates blending effects and foliage textures. Dotting tools such as the back of a pencil, a cotton bud, or a dedicated dotting stylus are essential for mandala and dot art designs.
5. Primer and Base Coat
Applying a white or light base coat before your main design makes colours appear more vibrant and helps paint adhere more reliably. White acrylic paint or a light gesso primer both work well. Apply one or two thin coats, allowing each to dry fully before proceeding. This step is especially important with darker-coloured stones, where the natural grey or brown of the rock can mute your colours significantly without a primer layer underneath.
6. Sealant
Sealing your finished painted rock is non-negotiable if you want the design to last. Mod Podge in a gloss or matte finish is a popular and effective option for indoor rocks. For outdoor use, choose a clear acrylic spray sealant or an outdoor-rated varnish and apply at least two to three coats. Allow each coat to dry fully before applying the next. Avoid thick single coats, which can cause bubbling or an uneven finish.
Rock Painting Techniques: Step by Step

Step 1: Prepare Your Stone
Wash the rock thoroughly with soap and water to remove dirt, oils, and debris. Allow it to dry completely before applying any paint. For very smooth rocks, lightly sanding the surface with fine-grit sandpaper can improve paint grip, though this is rarely necessary with standard acrylic paint on naturally textured stone.
Step 2: Apply a Base Coat
Apply one or two coats of white acrylic paint or gesso. Allow each coat to dry fully before applying the next. A hairdryer on a low setting can speed up drying time between coats.
Step 3: Sketch Your Design
Lightly sketch your design directly onto the base coat using a white coloured pencil, chalk marker, or soft pencil. This allows you to plan placement and proportions before committing to paint.
Step 4: Paint Background and Large Areas First
Work from background to foreground, and from large areas to small details. Apply your main background colour or gradient first, then add progressively finer detail as previous coats dry.
Step 5: Add Detail and Lettering
Once background areas are dry, add fine detail using a liner brush or paint pen. Take your time. Small details make the difference between a good painted rock and a great one.
Step 6: Seal the Finished Rock
Allow the fully painted rock to dry for at least two to four hours before applying sealant. Apply two or three thin coats of clear sealant, allowing each coat to dry between applications.
The Kindness Rocks Project and Rock Hiding Culture

One of the most heartwarming aspects of the rock painting hobby is the culture of hiding decorated stones for strangers to find. The Kindness Rocks Project, started by Megan Murphy in the United States, formalised what rock painting communities had been doing informally for years: creating small, beautiful, uplifting painted rocks and leaving them in public places as random acts of kindness.
The idea is simple. Paint a rock, write a brief message on the back such as a local rock painting group hashtag or the words Keep or Rehide, and leave it somewhere it might delight a passerby. Parks, town squares, library steps, community gardens, and supermarket car parks have all become unofficial galleries for these small painted treasures.
Always seal your rocks well before hiding them outdoors, avoid hiding rocks in environmentally sensitive areas, and label the back of your rock with a community group name so finders know what it is.
Rock Painting with Kids: Age-Appropriate Ideas and Tips

For Toddlers and Preschoolers (Ages 2 to 4)
Very young children benefit most from the tactile experience of applying paint rather than creating a specific design. Finger painting directly onto rocks, sponge stamping simple shapes, and rolling a rock through paint on a tray all produce satisfying results without requiring any fine motor precision.
For School-Age Children (Ages 5 to 10)
Children in this age range can follow simple designs with guidance and produce recognisable results they will be proud to display or give as gifts. Ladybug, bee, and caterpillar designs, simple emoji faces, rainbow stripes using masking tape, and seasonal rocks for holidays and celebrations are all excellent starting points.
For Older Children and Teenagers (Ages 11 and Above)
Older children can tackle more complex designs and develop genuine technical skill. Mandala designs using dotting tools, galaxy rocks with blended backgrounds, motivational quote rocks using paint pens, and detailed animal portraits from reference images all offer satisfying and progressively challenging projects.
Final Thoughts
Rock painting is more than a craft activity. It is a creative practice that connects us with the natural world, builds patience and mindfulness, and produces objects of genuine beauty from the simplest of raw materials. The ideas in this guide are starting points, not rules. Pick up a smooth pebble, choose a design that excites you, and start painting.
Happy painting.
Frequently Asked Questions About Rock Painting
What type of paint is best for painting rocks?
Acrylic paint is by far the most widely used and recommended paint for rock painting. It adheres well to stone surfaces, dries quickly, is available in a huge range of colours, and cleans up with water. For outdoor rocks, use an outdoor-formulated acrylic or seal your finished design with a weatherproof sealant. Avoid watercolour paint, which does not adhere well to stone without sealing, and oil paint, which takes far too long to dry on a non-porous surface.
Do I need to seal painted rocks, and if so, what should I use?
Yes, sealing is an important final step, especially for rocks that will be displayed outdoors or handled frequently. Without a sealant coat, painted designs are vulnerable to chipping, scratching, and weathering. Mod Podge in a gloss or matte finish is a popular and effective option for indoor rocks. For outdoor use, choose a clear acrylic spray sealant or an outdoor-rated varnish and apply at least two to three coats.
What are the easiest rock painting ideas for complete beginners?
If you are brand new to rock painting, start with designs that rely on simple shapes and bold colours rather than fine detail. Ladybug rocks, emoji faces, rainbow stripe rocks, simple flower designs, and basic word rocks using paint pens are all excellent first projects. These build confidence quickly and produce satisfying results without requiring advanced brush skills.
Where can I find good rocks for painting?
The best rocks for painting are smooth, flat, and free from large cracks. Natural sources include river beds, beaches, and gravel paths where water has worn pebbles smooth. If you do not have easy access to natural stone sources, garden centres sell bags of decorative pebbles, and online craft suppliers offer smooth painting rocks specifically sold for this purpose. Always wash and dry collected rocks thoroughly before painting.
How do I get clean, precise lettering on a painted rock?
Plan your text layout before painting by counting characters and lightly sketching placement with a white coloured pencil or chalk marker. Use paint pens rather than a brush for lettering wherever possible, as they offer more consistent line width and control. Posca markers in a fine or ultra-fine tip are a particularly popular choice. If you are using a brush, keep the paint at a medium consistency, work slowly, and have a clean damp brush nearby to correct mistakes while the paint is still wet.